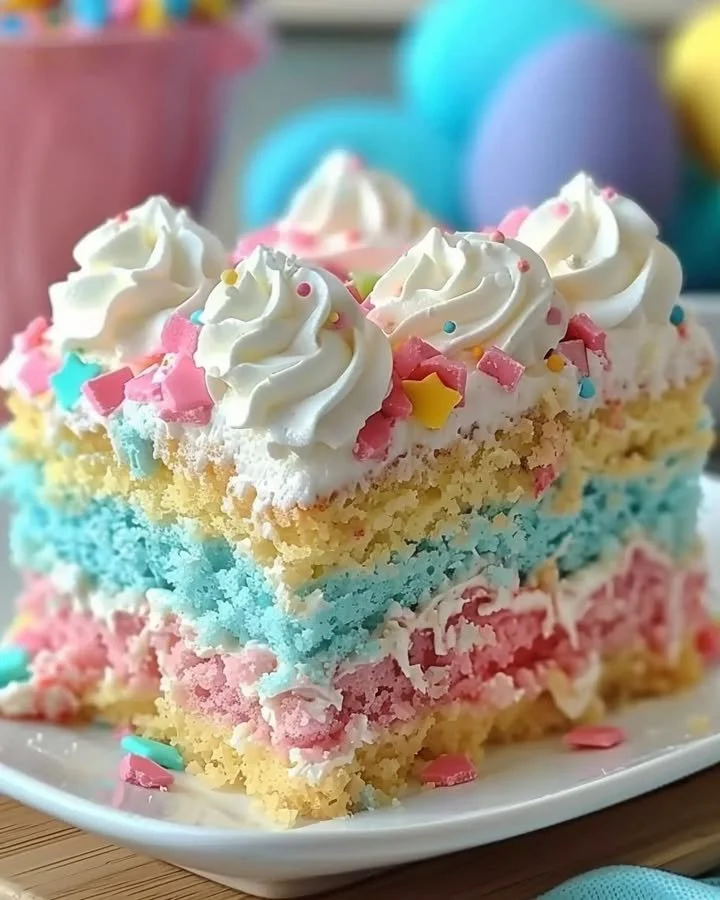
Festive Easter Bunny Poke Cake with Creamy Frosting
As spring blooms and the soft sun warms up the days, there’s no better way to celebrate than with a Festive Easter Bunny Poke Cake with Creamy Frosting. This recipe is not just a delight for your palate, but also a feast for your eyes, filling your kitchen with the sweet aromas of baking cake and coconut, while creating a delightful centerpiece for your Easter celebrations. With a step-by-step approach that’s easy to follow, you will find joy in every moment of creation, transforming simple ingredients into a whimsical dessert that captures the spirit of Easter.
In the annals of dessert history, poke cakes have a charming lineage that speaks of improvisation and creativity. Originating in the 1970s, these cakes were designed to make the most out of boxed cake mixes during a time when home baking was evolving but busy lifestyles were on the rise. The idea was simple: bake a cake and poke holes in it to allow sweet sauces or frostings to soak through. Today, the poke cake tradition allows for endless variations, reflecting seasonal ingredients and festive themes—like our cheerful Easter Bunny Poke Cake, designed to evoke smiles and joy.
The ingredients for this delightful cake are simple yet full of potential. You will need 1 box of yellow cake mix, offering a light and fluffy base, complemented by 3 large eggs, ensuring richness and structure. A 1/2 cup of vegetable oil adds moisture, while 1 cup of water helps the batter come together in a perfect consistency. The sweet revelation comes with 1 can of sweetened condensed milk, which brings an indulgent creaminess that permeates the cake. To finish, 1 cup of coconut flakes serves as a fluffy garnish that resembles soft fur, while optional pastel-colored candy eggs add a playful touch. Don’t forget a few drops of green food coloring to give a vibrant grass effect, making each slice a nod to the Easter theme.
Cooking this Festive Easter Bunny Poke Cake is an exercise in patience and joy, with the aroma of fresh cake wafting through your kitchen. You can choose to whip it up quickly for last-minute gatherings or take your time to create a more elaborate presentation. A quicker route may involve simply baking the cake and pouring on the sweetened condensed milk while it’s still warm, while a slower approach allows for more artistic decoration and chilling time to let the flavors meld beautifully. Whichever you choose, a few tips can help you achieve success: ensure your cake mix is fresh for the best texture, poke holes evenly for a balanced pudding distribution, and don’t skimp on the chilling time if you crave a firmer structure.
To create this lovely dessert, start by preheating the oven to 350°F (175°C), filling the air with anticipation. Grease and flour a 9×13-inch baking dish for a non-stick finish. Prepare the cake mix according to the package instructions, adding eggs, vegetable oil, and water—swirling these together to form a smooth, sumptuous batter. Pour the batter into the prepared baking dish, enticingly thick and velvety, and spread it evenly. Bake for 25-30 minutes, letting the cake rise and golden edges turn crisp. After baking, allow it to cool for about 10-15 minutes, a sweet pause before the transformation begins.
Once your cake has cooled slightly, take the handle of a wooden spoon and poke holes evenly across the entire surface—this is where the magic happens. In a small bowl, mix the sweetened condensed milk with a few drops of green food coloring, creating a playful, grassy effect that invites imagination. Pour this mixture generously over the poke holes, watching it seep into the depths, saturating the cake. Allow the cake to cool completely in the refrigerator for at least 2 hours—this step is critical for ensuring the flavors have melded beautifully.
When the cake is finally chilled, spread a lavish layer of whipped topping over it, smoothing the surface with a spatula to form a fluffy canvas. Now it’s time to let your creative juices flow. Garnish generously with coconut flakes to evoke the soft fur of a bunny, and artfully place pastel-colored candy eggs atop the cake, celebrating the Easter spirit in each carefully placed piece. As a finishing touch, you might consider green food coloring to mimic vibrant grass, further enhancing this whimsical creation.
Serving this cake is a joy, perfect for any Easter gathering, birthday party, or simply as a delightful treat to brighten your spring days. Pair it with a fresh cup of tea or coffee, and watch your loved ones’ faces light up as they indulge in this sweet, festive experience. It serves beautifully in squares, inviting each guest to enjoy their own slice of happiness.
Common mistakes when preparing the Festive Easter Bunny Poke Cake include overbaking the cake, which can lead to a dry texture, and neglecting to let the cake cool properly before poking holes. These small missteps can lead to a less-than-perfect result. Furthermore, ensuring even distribution of the sweetened condensed milk is key to achieving a consistently moist cake, so take your time and pour it gently.
For those looking to make this Easter delight a bit healthier, consider substituting the yellow cake mix for a whole grain or gluten-free option, enhancing the nutritional profile while keeping the same delicious flavor. Alternatively, you can experiment with using a low-fat whipped topping or Greek yogurt in place of traditional whipped cream. For a twist, add layers of fresh fruit or use a chocolate cake mix for a rich flavor contrast.
FAQs about the Festive Easter Bunny Poke Cake:
Can I use a different cake flavor?
Yes! While yellow cake is traditional, you can experiment with chocolate or carrot cake for unique flavors.How do I store leftovers?
Store any leftover cake in an airtight container in the refrigerator for up to 3 days.Can I make it ahead of time?
Absolutely! This cake is perfect for making a day in advance and allowing the flavors to meld.What other toppings can I use?
You can substitute the coconut flakes with crushed nuts, sprinkles, or fresh berries for added texture and flavor.Can I freeze the cake?
Yes, you can freeze a fully assembled cake. Just ensure it’s well-wrapped to avoid freezer burn.Is this cake suitable for those with nut allergies?
Yes, as long as you use nut-free sweetened condensed milk and confirm the toppings are also nut-free.
After reading about this beautiful and nostalgic cake, it’s hard to resist diving into the adventure of making your own Festive Easter Bunny Poke Cake with Creamy Frosting. Picture gathering your loved ones around a table adorned with laughter, joy, and the delight of this magnificent dessert at the center. Its festive theme and delightful textures promise smiles all around—so don’t wait too long to create this enchanting sensation in your kitchen. Dive in, and let the celebration begin!
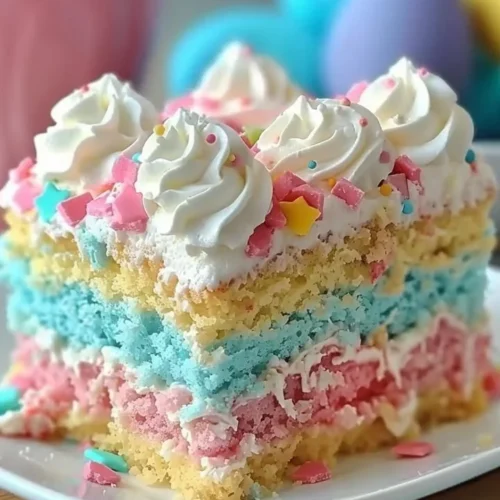
Easter Bunny Poke Cake
Ingredients
For the cake
- 1 box yellow cake mix Use a good quality box mix for best results.
- 3 large eggs For richness and structure.
- 1/2 cup vegetable oil Adds moisture to the cake.
- 1 cup water To help the batter come together.
For the filling
- 1 can sweetened condensed milk Adds creaminess and sweetness.
- a few drops green food coloring For a grassy effect.
For the topping
- 1 cup coconut flakes To resemble bunny fur.
- optional pastel-colored candy eggs For garnishing.
Instructions
Preparation
- Preheat the oven to 350°F (175°C).
- Grease and flour a 9×13-inch baking dish.
- Prepare the cake mix according to the package instructions, adding eggs, vegetable oil, and water.
- Pour the batter into the prepared baking dish.
- Bake for 25-30 minutes until the cake is risen and golden.
- Allow the cake to cool for about 10-15 minutes.
Assembly
- Poke holes evenly across the cooled cake using the handle of a wooden spoon.
- In a small bowl, mix the sweetened condensed milk with a few drops of green food coloring.
- Pour the mixture over the poke holes, ensuring it seeps into the cake.
- Chill the cake in the refrigerator for at least 2 hours.
- Spread whipped topping over the chilled cake.
- Garnish with coconut flakes and pastel-colored candy eggs.